
Planing one of the 3 I-beams that will join the hulls together. They're made from 3/4" x 8" MDO capped top and bottom with pairs of 1-1/2" x 1-3/4" Douglas fir caps. They are massively strong. I'm convinced the whole boat could come apart and these would still be in one piece.
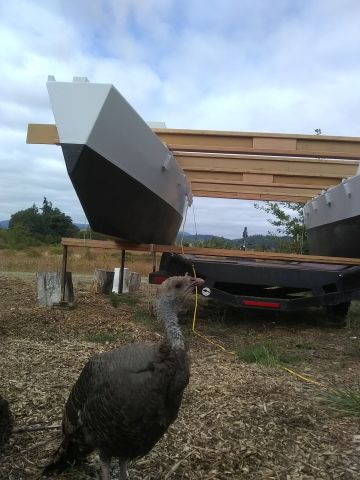
Thelma the turkey has been a constant, though not always welcome, companion during the project. She was responsible for breaking my toe a couple weeks ago. She knows she's not supposed to come in the shop, but as I was loading sandpaper into the power sander, she started to. That diverted my attention and caused me to drop the sander, which landed on my little toe. It's still painful. She's gobbling just outside the door as I write this, waiting for me to get out to the shop. Damn bird.
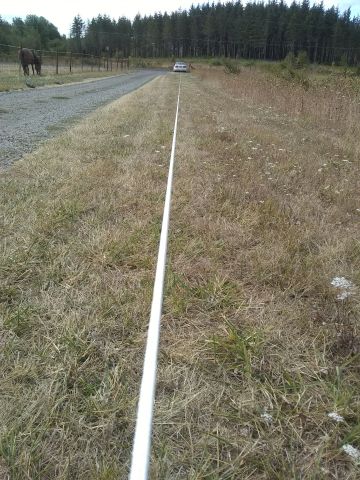
Pre-stretching the 1/4" (6mm) Samson XLS3 double braid rope that will be used for lashing the cross beams to the hulls. For the running rigging we'll be using inexpensive solid braid polyester rope, since the loads will be so low on the small junk sails, but here we wanted bomb-proof cordage.
We tensioned the rope between two cars, guesstimating a load of 500-600 lbs. on it. We had the experience on the original Minimus of failing to take the constructional stretch out of dyneema before using it and having to re-tension it a second time, so hopefully this will take care of that.

Underside of deck boards. We'd planned to use 1/2" MDO for the deck boards, but then came across these beautiful clear hemlock 1" x 8" boards at a good price. They weren't quite stiff enough for the 30" span between cross beams, so we glued 1" x 2" fir battens to them between each cross beam. They're now quite stiff and can bear the weight of both of us at mid-span without bending. They're also remarkably lightweight.

We're still experimenting with lashing techniques, but the general idea that seem to be working well is to start with a loop around the lashing cleat, then wrap up over the top of the beam and let the tail fall to the ground on the other side of the beam. I can then take a few turns around my foot and put my full weighton the lashing.
Doing that on each wrap gets them really tight. By the time we do the frapping (horizontal) turns around the initial wraps, the lashing is so tight it feels like a solid object.
The dowel on top of the beam cleat is to give clearance between the lashing and the hull, so we can easily pass the frapping turns around the initial wraps.
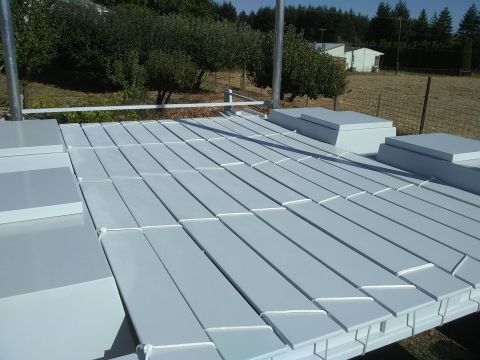
Deck boards lashed in place. After the first coat of paint, we sprinkled fine sand on the wet paint,
then recoated the next day to lock the sand in. The grip is super non-skid, but because the sand
very fine, we can kneel on it comfortably. We got the sand at a Michael's craft store.
The rudder head is built from 3 layers of 1/2" MDO. The rudder blade is 1" x 12" fir.
A sheet of 1/8" HDPE plastic sheet between them allows the rudder blade to
swing up easily. Hopefully not too easily. We still have to work out a way to
lock the rudder blade in place so it only kicks up if we hit an object.

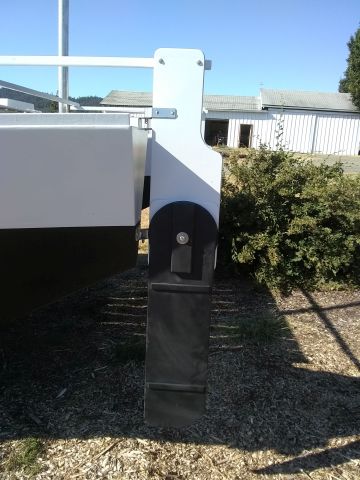
A 1/4" x 2" stainless steel bar on the port bow makes a stout place to secure the anchor bridle.

The diagonal stainless steel bar inboard of the rudder is for
securing a drogue bridle. There's also one on the port stern.

One of Minimus II's 4 aluminum masts. The black reinforcing pieces are 4" ABS pipe at the mast step and deck collar.
The 2 mizzen masts are each 14' long and the 2 main masts are each 18'. All 4 masts are 4" diameter aluminum irrigation pipes we purchased for about $5 per foot from a local irrigation company. The wall thickness is 0.072", which is much thinner than is usually used for free-standing junk rig masts. I'm fairly confident that they'll work fine for the mizzen sails, but the main masts will likely need reinforcement. I have some ideas for that, but it may wait until initial sea trails next spring. In any case, we'll report on those developments here.
Meanwhile, it's a joy to step them. I can easily do it myself without cranes, gin pole or any of the other usual drama.
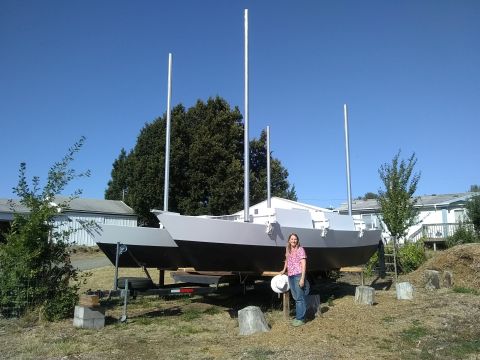
Pearl beside Minimus II.
She dreams of warm waters while David wonders if the
contraption will actually work. Stay tuned.